Pages

Mar 9, 2011

Behind the Scenes (Epic Fail) & Love, Love Me Do

Playing catch up once again. I do apologise for the delay in posts. I did have a short hiatus between CNY and my current mani.

These few manis were actually done before CNY so my nails were a tad longer then. I'd like to share some experiments I do when marbling and why sometimes it doesn't always work out (hence the reason why most shops refuse to do em).
A question I get ever so often is if my nails where of my own so here's a shot of my nails (before the CNY chop) au naturel... 

I wanted to try marbling with claire's mood polish as some nail bloggers did a really awesome job at it and I figured I wanted to recreate the same look. The colour of choice I used was claire's bored/excited. A pink with a hint of orange.

Now I find claire's polish a bit hard to work with as they're really streaky and they need at least 3 coats to even out the colour. I initially thought my nail painting skills were bust until I checked out the reviews at other nail blogs and found that even the most seasoned of them had trouble with the formula.
See what I meant by it being streaky? This was two coats and you can just barely see the two tone on the ring finger and thumb.
This picture is the closest I could take of the actual colour and the cool & warm tones were showing up very clearly. Excuse my messy nails... It was a work in progress after all... 
Test marbling on thumb. The patterned turned out just right and the black didn't bleed too much into the pink. But everything went downhill from there... (Yes, that was a scotch tape around my finger to minimise the cleanup).
I have no idea why... but the rest of the marbling didn't go as smoothly as the first... the black bled too much into the pink and it defeated the purpose of having a marble as you can't see the different tone so I did try to salvage it...
But I think I'm too much of a perfectionist that I just couldn't make myself wear this so I promptly removed it and filed this polish combination for water marbling an epic fail... =.=

I still wanted to use this colour so I decided to just do some stamping.
I call this Love, Love Me Do... Something with a Valentine's touch to it although V-day was eons away when I did this.
This picture shows the mood effect. I noticed it's more obvious when I'm in an aircond room. Apologise for the tip wear as I only decided to take a picture of this manicure wayyyy later. 

More nail post coming up soon... Stay tuned. 

If you like my work please follow me on Facebook & Google followers (----->) to stay updated whenever I post up a new entry. 

Feb 7, 2011

CNY Manicures

A quick post on the manicures I did for CNY, so this will be a relatively short post. First up, was a guest nail I did. I wanted to work with more different shapes and sized of nails so I have a wider range of "canvas" to work with.

It's the first time I'm doing my cousin sister's nails and her nails are really cute and tiny considering the fact she's only four years my junior. She was attracted to the bling factor of China Glaze's Rated Holographic so I used it as her base colour. Check out the bling!
Not one to just leave a manicure just plain, I decided to stamp some designs using my Bundle Monster plate bm15. I used the small flower image as a bigger image may not look very nice since she has tiny nails and I didn't want the nail art to draw focus away from the awesome holo.
Mind you, the bling you see ain't your regular glitter. Holographic goodness which shouts "Look at me!" and unlike glitter polishes, aren't a total nightmare to remove. Was opaque in two coats as her nails were short so no VNL (Visible Nail Line) was found.
A close-up of the flowers. I initially wanted to stamp them in red but she wanted something more obvious so we opted for black instead.

Once I was done with the three manis and one pedi (the others were just basic mani so I didn't bother taking any pics), I proceeded to do my own CNY manicure. I was pressed for time so I decided to do yet another marble design. Not really my favourite as all ten nails where completely different in design but still loved the effect.

I used three different shades of red for this water marble. Sally Hansen's Hot Red, China Glaze's Rated Holographic & TMI. Somehow TMI didn't show up much on the marble design probably due to the reason it was a very close shade to Rated Holographic but you can still barely see some of it in my left hand's middle finger and right's index finger. Just barely...
I'm calling this one Swirling with Prosperity™. Now if only I can catch up on my older nail posts... 

Pre-CNY Manicures

I'm soooooo behind with my blog entries. Playing catch up again but I guess let me post the latest manicures first (at this rate I'll never get around to posting the older manicures)...

So since I'm trying to play catch up here, please be warned there'll be a lot of photos.

First up, I had to chop of my talons as they were getting to be a tad too long so being lazy to do my own nails by myself I went to my trusty manicurist. Unfortunately when she snipped, the nail on my right thumb cracked too much and I ended up with nubbins. Totally not her fault though, that's the only flaw of my nails. The tendency to crack when trimming them down.
Sobs... My family and friends told me to stop whining cos the length was perfectly fine but after having them long for such a long time my nails looked stunted to me... (secretly I guess they envy my long nails)

About a week before CNY, I was scheduled to head down to Pasir Gudang for work and I'd be travelling with some new work colleagues for a different project so I decided to play it safe and go for more professional colours (since I'll also be seeing the client for the first time).

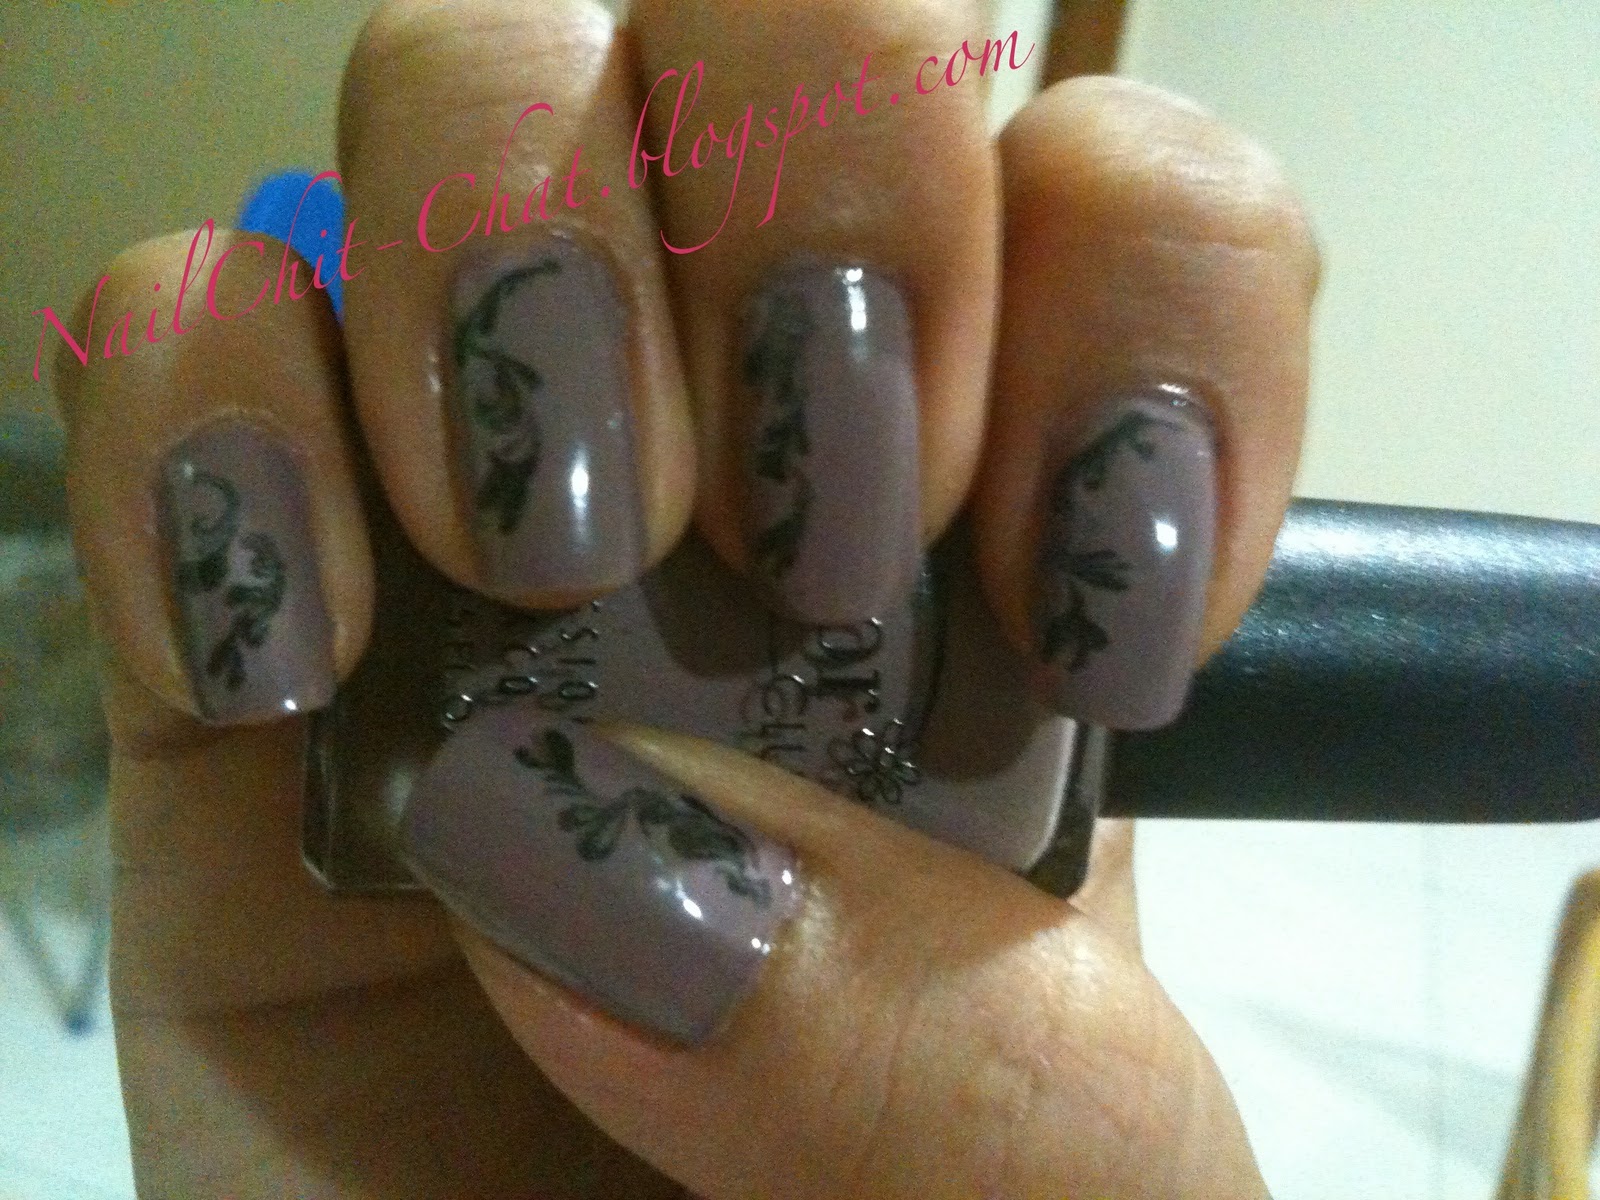
It also gave me a good excuse to finally use my Color Club High Society greige (greyish beige). It's a grey with a hint of beige and sometimes at different lighting it looks a bit lavender.
Totally heart this but I'm still looking for a completely grey polish. Zoya's Dove looks like a good candidate from the swatches I've seen.

I left it as it is as I had to do a manicure for a friend during the weekend in case I messed up my own manicure so I don't have to redo too much.

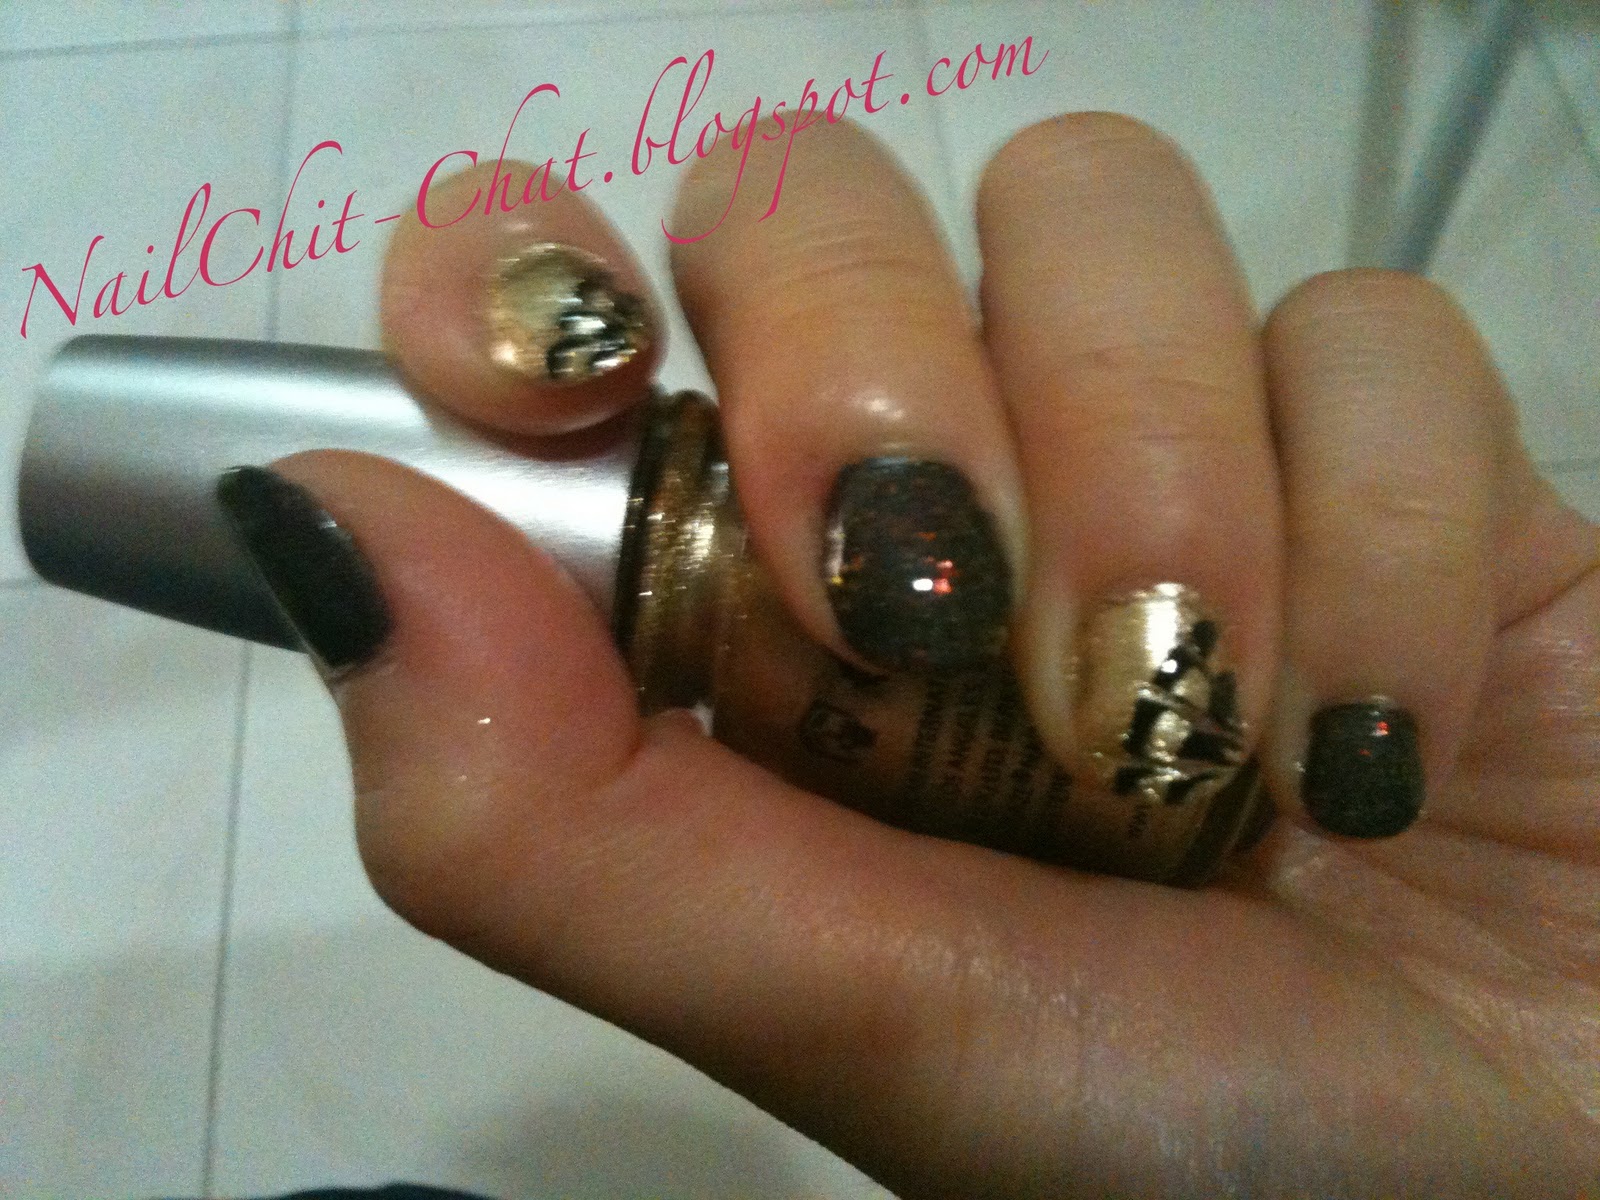
I wanted to try a new technique on her but it kinda failed as my hands were shaking so it was hard to keep a steady hand that day. I suspect I was too hungry cos we didn't have lunch when we started so we ended up with this instead.
The gold was China Glaze's Midnight Kiss and the black was Color Club's Revvvolution. The contract was too harsh so I decided to add Nubar 2010 to give it a bit of orangy tint.
We decided to use the gold as accent nails and I did some drag marbling. I initially wanted to do the same to all five fingers but due to my shaky hands, it was very difficult to get the precision needed for this design so we  opted for two nails on each hand instead.
A close up of the foil effect and the accent nail but the image was shaky due to my hands. My camera couldn't focus properly... =.=

Once I was done with hers, I was bored with my standard mani so I decided to try the initial design I was going for (after I've filled my tum). So here it is.
See how in white light it takes on a lavender hue and in darker settings you see the brown tint? This is another drag effect marbling. Nice and simple yet not boring. Totally work friendly.

That's all for now, I still have another CNY manicure post to come so do check back in often.

Nail Art Express

FashioNailsta

Powered By Blogger
 

Nail-ChitChat Copyright © 2009 Cosmetic Girl Designed by Ipietoon | In Collaboration with FIFA
Girl Illustration Copyrighted to Dapino Colada